I saw these really cool videos on side planting containers at kinsmangarden.com. It thought these were just gorgeous and brilliant but of course my tightwad self could not pay that much for a planter.
I set out to experiment with side planting containers and see if I could make one out the containers I had dumpster dived while they were finishing our subdivision.
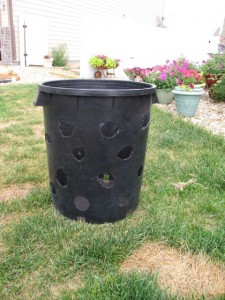
I used a large tree container for my first side planting container. I proceeded to cut a bunch of holes in the side. I used a drill to drill a hole to start it and then used the jigsaw to cut out the holes.
This is what I ended up with.
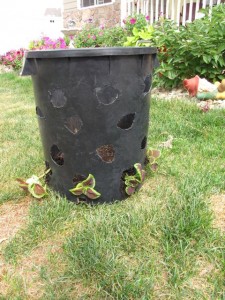
Then I started on the bottom and put a layer of soil, then a layer of plants, another layer of soil etc.
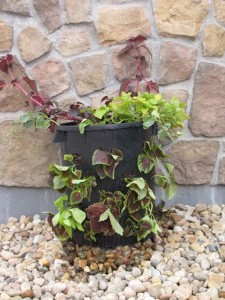
Until this is what I had in the end. Now I am the first to admit this wasn’t the most pretty thing. I planted in the end of July and just used leftover plants I had around.
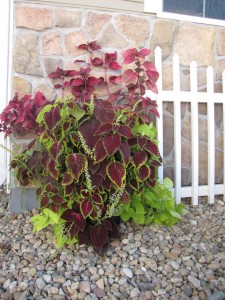
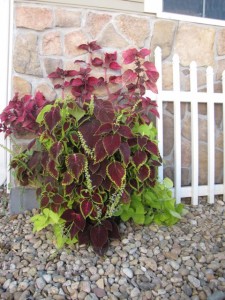
Here is how it looked after two months. I can’t believe how it filled out! I am going to look for several stools at yard sales so that next year I can put several of these along the front of my house where I can’t plant in the ground. I can’t imagine how pretty they would be if I had an entire season of growing them!
If you click on the picture you can get a much better view of my first side container planter.


That looks really cool. I think I might try it for strawberries. Thanks for sharing this.
Hi, Tawra! The colors are really pretty against the stone and the white fencing.
THis is very pretty, and I love you frugal spin on this idea.
I love to garden too. Everything starts out beautifully then the pests and viruses and so on come around July. It is very discouraging. I do spray, but once a blight or virus starts on a tomato, cucumber or squash plant, it’s all over.